Tuesday, March 10, 2015

Project Linus Quilt; Cupcake Edition

It took way longer to finish it, but we are finally done with the quilt project I did with my daughter's 3-6 year old class!  It is sooooo cute, but next time I think I'll pass on making sashing out of two inch squares.  They took a very, very long time to iron, sew in the small batches the kids made, then group them into longer strips.  It also meant a lot more work lining up seams (some of which could have gone better).  On top of it being a time consuming project, I was out of town, or had other commitments that kept me away from home, so working on the quilt was a bit hit and miss for a while.  Anyway, without further ado, here is the completed cupcake quilt!

The back (which I neglected to take a picture of) is a bright orange ultra cuddle.  This is one bright and happy quilt!

And here are some of the little ones who made it:
 Note the little one right in front.  She has a lot more personality than she is showing here.


 There it is!  I took a couple of other pictures, and in each one she is striking a different pose.


Here, they were admiring the quilt and pointing out which cupcake they made.  "There's mine!" is one of my favorite things about doing this with them.  They all get so excited to see the one they made in the finished product.

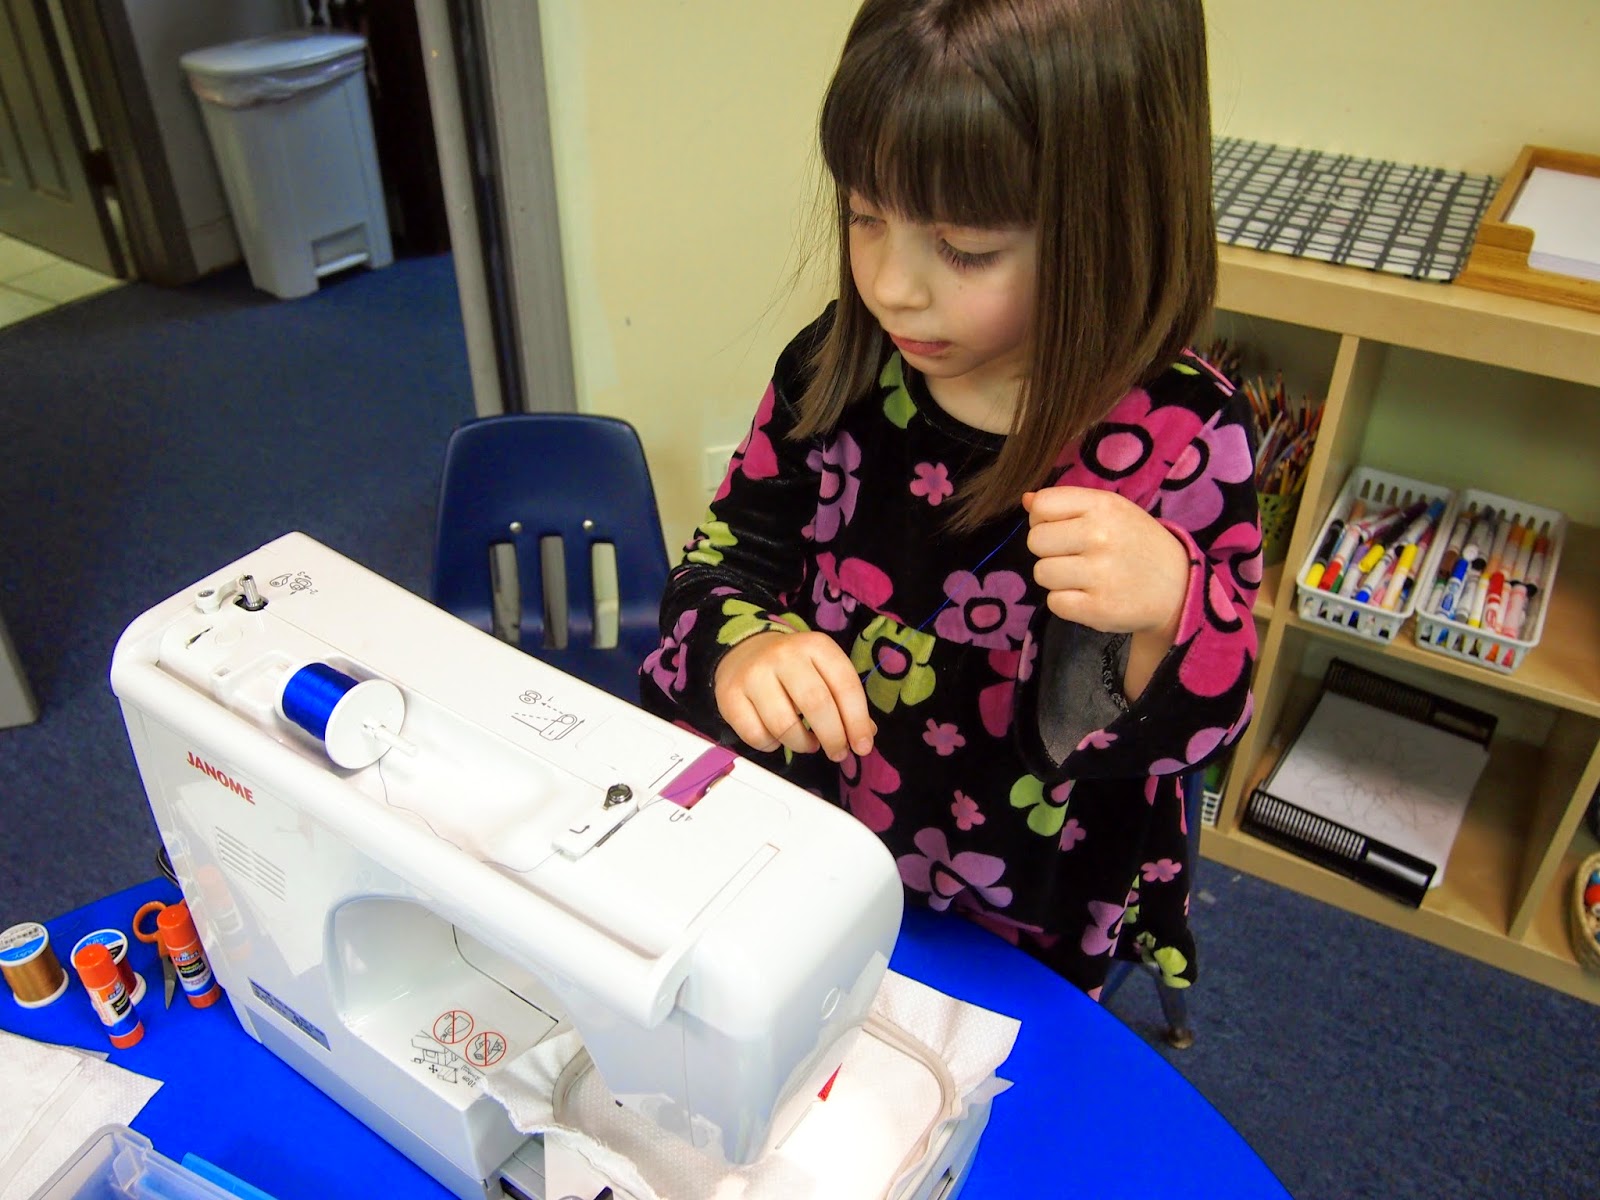
Each child had a turn using my embroidery machine to make a cupcake.  I had the fabric cupcake pieces pre-cut for them, and they picked out a top and bottom, then thread colors for the top and bottom.  They all also glued tiny squares of fabric to interfacing that I then brought home, ironed, and sewed into the patchwork sashing strips.

Here are the kids at work  (Check out their eyes in the pictures.  You can see how focused they were.):

1.  Changing the thread color.


This last picture is of him taking the spool off and pulling the thread out of the machine.  A lot of thread is looped through the machine and they had to pull pretty far to get it all to come out.


2.  Threading the machine.  Only the very youngest three year olds didn't thread the machine.  Some children needed a little help, but a few did it unassisted.


3.  Lowering the pressure foot (which is way in the back and hard to reach with little arms).


4.  Pushing the start button.


5.  Putting glue on their cupcake pieces and placing them in the outline on the fabric.


6.  Watching.  Sometimes, it gets very crowded around the table where we are working.  Other times, everyone is busy with their own work and the person sewing can really focus.


The boys get into it just as much as the girls.  I loved it when I realized there were all boys at the table one day.

7.  Glueing fabric squares onto interfacing.


Lastly, here are some closer shots of the finished cupcakes in the quilt.


There are more than 50 different fabrics used in the quilt.  Many of the squares match fabrics used in the cupcakes, and the kids had fun spotting which ones matched.  All of the colored fabrics were from my scrap bins and it was great to make a little bit of a dent in my scrap pile (even if it is still pretty big).

I have a couple of other personal quilts to finish up, and then I'll donate all of them to Project Linus.  Hopefully, whomever gets this quilt will love it was much as the kids loved making it.

Sunday, February 8, 2015

Twirling Costume; Before & After

My daughter is starting to get into competitive baton twirling a little bit.  She is on a team, and I figure that while we are at the competitions anyway, she can at least do basic strut as an individual.  When I was teaching twirling (pre-kids) I picked up a small number of costumes for hardly any money.  It was nice to have something for my students to borrow if they wanted to try competing without having to invest a lot upfront.  I have had this little black costume for probably 10 years, and no one has ever worn it because it is so tiny.  I'm not sure how old it is, but it wasn't new when I bought it, and I'd guess it is at least 20 years old.  However, it is made with quality fabric, and the base costume is holding up really well.

 The front.  It was a cute design, but a bit more mature than I like for little ones.  It wouldn't be a color or style I would personally pick if I was to create something from scratch, but I was able to buy it for $10, which can't be beat.  The edges of the leaf designs were outlined in silver sequins with black beads to hold them in place.  I didn't care for how dark it made it look, and many were coming loose and needed to be mended anyway.


 The design carried over to the back.


 The black sequin applique on the bronze colored leaf was completely falling apart.  It was one piece, that
 had been cut apart to make it fit better, but it was not holding up well.

I removed the black applique pieces and the silver sequins with black beads.  Then I took off the bronze leafs (one had a rip in it).  The silver material was still in good shape, so I left that.  I used the bronze pieces I removed as patterns and cut out some hot pink ones to replace them.


 I think it looks much better and has cleaner brighter lines now.  After I sewed on the new, pink leaves, I outlined everything with a single strand of silver sequins.  I was going to add some other pink sparkles, but decided that it didn't need it (and the pinks didn't match perfectly). 

The trim at the neck is a row of rhinestones and there was one missing.  I happened to find a loose stone under a table during one of her lessons, and it fit and looks great.  I had some other little rhinestones, but the ones I had were slightly better quality and sparkled more than the others, so it stood out.  Now, you can't even tell which one I replaced unless you know where to look.


The back!  The rhinestones scattered on the black are put on with prongs.  Some of them were loose, so I went through and tightened all of them up.  Other than time, the transformation didn't cost me anything!  I had all the extra fabric and trim that I needed, and she no has an adorable costume to wear for her first competitions.  It fits her really well, and looks like it was made for her.  It was a little bit long, but I took it up about an inch in the crotch.  Someone else had added a small panel, and I just took it back in.  When she grows, I'll let it out again, and she can wear it a little longer.

I'm really happy with how cute this one turned out.

Tuesday, February 3, 2015

Project Linus Quilt: 2nd Grade

Malcolm's teacher was receptive when I asked if she would be interested in letting me come in and do a quilt project with the class.  I did a similar project last year with his first grade class, but I made a few changes and it went better this year.

I started by reading The Quiltmaker's Gift to the class.  It's a long book, but it went better than the one I read last year about a pioneer family.  It has a great message about giving, is funny, and  ties in nicely with how we are making a quilt to give away.  I'll be taking this one to Project Linus.

Each student got a piece of grid interfacing and 25 fabric squares (5 of each of the 5 colors) to place on it however they liked.  Even though they were all given the same materials, no two blocks were the same.

Once they had their pattern set, they glued down each square.


 I collected all the completed blocks, then ironed the squares into place and sewed the blocks.  I sent in one of the sewn blocks with my son so the kids could see how they are put together.

 I needed three more blocks to make the quilt come out even, so my son, daughter, and husband each made one for me.

 I love the finished quilt and am happy that I decided to place the blocks on an angle.  The grey fabric has a speckled, gravel look to it and the light green and aqua blocks have wavy lines that gave it a watery look.  It reminded me a lot of the streams from our Smoky Mountain trip last year, so I named it "Stoney Stream."


I took the finished quilt back for the class to see and they were so cute.  They were very excited to see the finished product and many of them couldn't keep their hands off of it.  Several of them were trying to snuggle it.  Hopefully, whomever gets it likes it as much as my son's class seems to.

Sunday, January 25, 2015

Goals Update

I hadn't updated my goals listed on the side of the blog since 2012, so I decided it was time to finally move on.  I had actually completed all but one of the 2012 goals (recovering lampshades), but since I now have beautiful overhead lighting in my sewing room, there is no need for the lamps.  On to 2015's goals!

1. Make 5 blankets/quilts for Project Linus.
I am well on my way to this goal already, and would actually like to do even more than 5 blankets, but I decided to keep it realistic.  I have one quilt done (except for trimming threads) and one more is well underway.  I hope to have the second one finished this week, as it is a project for my son's class.  Then, I'm starting a quilt with my daughter's class.  After that, I only need to do two more, and I have two that are started already.  I need to finish them up because I'm not allowed to move on to a new project until they are done.

2. Finish the top for the rainbow string quilt I started a couple of years ago.
I started a scrappy string quilt a long, long time ago.  It is looking beautiful, but I have kept running out of certain colors as I have gone along.  I have some leftover blue from a project, that will be perfect, so maybe I will finally be able to finish this one off.  It has taken a lot longer than I planned, and I'm ready to be done with this project.

3. Make a dress (or 2!) for my daughter from fabric I already own.
I have bought beautiful fabric so many time with the plans of making something for my daughter.  Then, I get distracted and it never happens.  In an effort to try to get some of my stash under control, I need to stop buying and start actually sewing.

4. Make pillowcases with my children.


My kids ask to sew with me fairly often, but I'm typically in the middle of something that I don't trust them to help with.  I need to carve out some time and let them make their own pillowcases as a first project (and to use up some of my stash).

5. Make one quilt with fabric from my scraps and/or stash.
I have a lot of fabric taking up lots of space.  Often, I will make a quilt, but will buy new fabrics to get the look I am after.  I want to see what I can come up with without buying anything new at all.  It's a creative challenge and will make more room in my fabric storage.


Time to get sewing!