Tuesday, February 14, 2017

Valentine's Day Dress

I made Dorothy another quick dress from a t-shirt for Valentine's Day.  Since she would only get to wear it a couple of times, I purposely made it a bit big, so she can wear it again next year too.

 I found the shirt at Target, and the fabric at JoAnn's.  Nothing fancy, but the reds match, and I like the simplicity of the heart fabric design.


 The back, with the ribbon bow.


 This wouldn't be my first choice as a shirt, but it was the only one they had and I didn't want to drive around looking for something different.  There's nothing wrong with it, just not what I typically am drawn to.


 Instead of the straight, gathered, skirts I have put on the last few dresses, I did this one as a circle skirt for extra twirl factor.  Here's the wind up...


 ...and the spin.


The skirt flows outward very nicely.  She has practically made herself dizzy spinning in it

I don't know how much longer she will be willing to wear stuff like this, so I'm enjoying it while I can.  Hopefully, she will wear it next year too.

Wednesday, February 8, 2017

First Grade Class Quilt

Last week, I spent the morning in Dorothy's first grade classroom, doing a quilt project.  It's something I have done every year with my kids classes, but it was the first time for her at her new school.

First, I read The Quilmaker's Gift to the class, which is just a lovely story.  It's about a quiltmaker who gives away her quilts to those in need and a greedy king who tries to force her to make a quilt for him.  Through her kindness and generosity, she thwarts the king's attempts to coerce her into making him a quilt, and she changes his life; turning him into a joyous and generous person.  The teacher told me that the story was a great lead in to a new section they were starting the next day on kindness.  I like that it is a sweet story, with amazing illustrations, and it works as a wonderful way to explain that we will be just like the quilmaker in the story and that we will be donating the quilt that we make together as a class.

After the story, the real fun begins!  Every student gets a grid of fusible interfacing and a baggie of pre-cut fabric squares.  This year, everyone got five each of yellow, green, light blue, dark blue, and a print fabric.  A while back, I bought a remnant lot at a deep discount, but it was sight unseen.  Some of the fabrics I really liked, but there were a couple that weren't really ones I would ever pick.  This was one of those.  I used it as my "inspiration piece" and based the entire quilt off this pretty, but odd, fabric.

I loved the colors, but the bold stripes of the pattern were going to make it difficult to make much with it.  I cut it up into 2" squares and each child got five squares that had a similar pattern on them.  We ended up with floral, stripes, or blue and gold swirls.  In the end, it added some depth and dimension to the quilt, and everything coordinated beautifully, without being 100% matching.  It was a nice change.  Bonus:  it used up almost the entire remnant piece I had.


 They got right to work, placing their fabric squares onto their grids.  I love how it gets really quiet all of a sudden when they all start concentrating.


 So much focus!  There was also a lot of rearranging of their squares in this class.  Some years, the kids go with whatever idea they have first.  Several students in this class started over 2, 3, even 4 times, until they got it "just right."  I purposefully leave the instructions pretty vague, and just say to arrange their squares however they like, and to make sure that every square on their grid is filled; no holes.  Once they are happy with their layout, they use their glue stick to tack all 25 squares down to the grid.  That's a lot of work for a group of 6 and 7 year olds!


 The little boy in blue was in Dorothy's class last year, at her old school, so he had done a version of this project before.


 I loved how serious this little guy was.  He worked so hard to come up with an incredible pattern, and was so incredibly focused.


Once they were done, I collected their quilt blocks to take them home.  At home, I ironed the squares to the interfacing (and straightened them out a bit), sewed the blocks, pieced the top, quilted the top to the backing, and bound the edges.  I try to get it done in about a week, so that not too much time has passed between them making the blocks and seeing the finished product.  I told them I would be back to show them the finished quilt, but warned them that it would not be the very next day, and some of the kids were very disappointed.


 The finished quilt and my fuzzy helper.  He just sat there when I was trying to take a picture of the quilt.  I could not have posed him like that if I tried.

I'll be taking the quilt in to school tomorrow morning, then hanging it in the hall with a bulletin board display so the entire school can view it for a bit.  When I showed it to Dorothy, she gasped, so I'm expecting a good reaction from the kids tomorrow.  That's always my favorite part.  I don't think they can visualize how the work that they do will combine with everyone else's, and how it looks when they are all put together.

I debated about not using black for the sashing, but I'm so glad that I did.  I was afraid it would be too dark, but I think the effect is like stained glass.  It helps that three of the colors are very light/bright, and really stand out against the dark sashing.

I thought I would like the binding more than I do.  It's not bad, but it doesn't stand out like I was hoping.  I had some of the print fabric left, but not quite enough to do all the binding, so I combined it with a few short pieces left over of the black sashing fabric.  I wish I had enough of either one of the fabrics, instead of alternating them.  Oh well, the kids won't care.

I forgot to take a photo of the back, but I used a piece of aqua minky dot, that is very soft and pet-able.  I happened to have the piece minky and it was exactly the size I needed for the backing.  I love that I was able to do this quilt 100% with fabrics I already had.  The squares, other than the print, were all left from other projects, and the yellow is now all gone.  Perfect! 

After the quilt hangs in the school hallway, I'll bring it home, wash it, then donate it to the local chapter of Project Linus.  


 Just because he never poses so nicely when I'm trying to take his picture.  Right after this, he ran at me and tried to put his nose on the camera lens, which is what typically happens during picture time.

I had a great time with the first graders.  I'm currently talking with my son's forth grade teacher about doing a much larger version of this project, involving the entire forth grade.  I have started prepping, but have a lot more squares to cut.  I need a minimum of 2,180, for things to come out exactly even.  I'll probably do an extra 100 or so as a buffer.  Guess I had better get busy.

Sunday, January 8, 2017

Spaceman Pajama Pants

I have been very bad about remembering to take pictures of the things I have been making lately.  I'll say that I'll try to be better about it, but I probably won't actually change anything.  Anyway...

I did remember to take a couple of quick pictures of Malcolm in his new glow-in-the-dark spaceman pajama pants that I finally finished for him.  I love how excited he gets when I make him something.  I don't make nearly as much for him because a lot of the boy clothing is either more difficult, or it's just much less expensive (and quicker) to just buy him the shirt or pants he needs.  "Luckily," there is a lack of cute, affordable big boy's pajamas for sale, so I can still make him a little something once in a while.

 Yes, we still have our tree up.  We were late to set it up, and are late to take it down.

He's much more excited than he looks here.  The pants are the tiniest bit too big, but I'm hoping he can wear them next winter too.  Since they are flannel, they are a winter only pj, and I'd hate for him to only be able to wear them for a short time.  He's growing so fast; straight up.


 I didn't realize the photo was so blurry, but here's a close up of the fabric.  The white on the astronaut's suit, the white stars, and the white on the moon, all glow in the dark.  Extra fun!  I don't know how much longer he will find glow-in-the-dark pajamas exciting, so I might as well  do it while I can.

I used an old pattern, and the length was perfect for right now, but I was afraid they would be too short by next winter.  I added a green cuff to the hem, and I really like how it looks.  They are a tiny bit long right now, but not so much that he trips on them.


So cozy, and ready for bed!  I found the shirt on clearance at Target last year, and it matched the fabric perfectly.  It's hard to see in the photos, but the orange and grey in the shirt are also the colors of some of the stars in the pants.  It was much faster to just buy the shirt, and it cost much less than I could ever make one.

I have some other flannel fabric set aside to make more pajamas pants for him, but I think I'm going to wait until next year because he has enough for right now.  I hope he's still into cute pajamas when he's 10.  I have a different glow-in-the-dark space fabric, some comic book character flannel, and a black and white cat print (he's cat crazy).

Monday, October 31, 2016

Happy Halloween!

This year's Halloween costumes were a joint effort between Kevin (and Malcolm) and myself. 


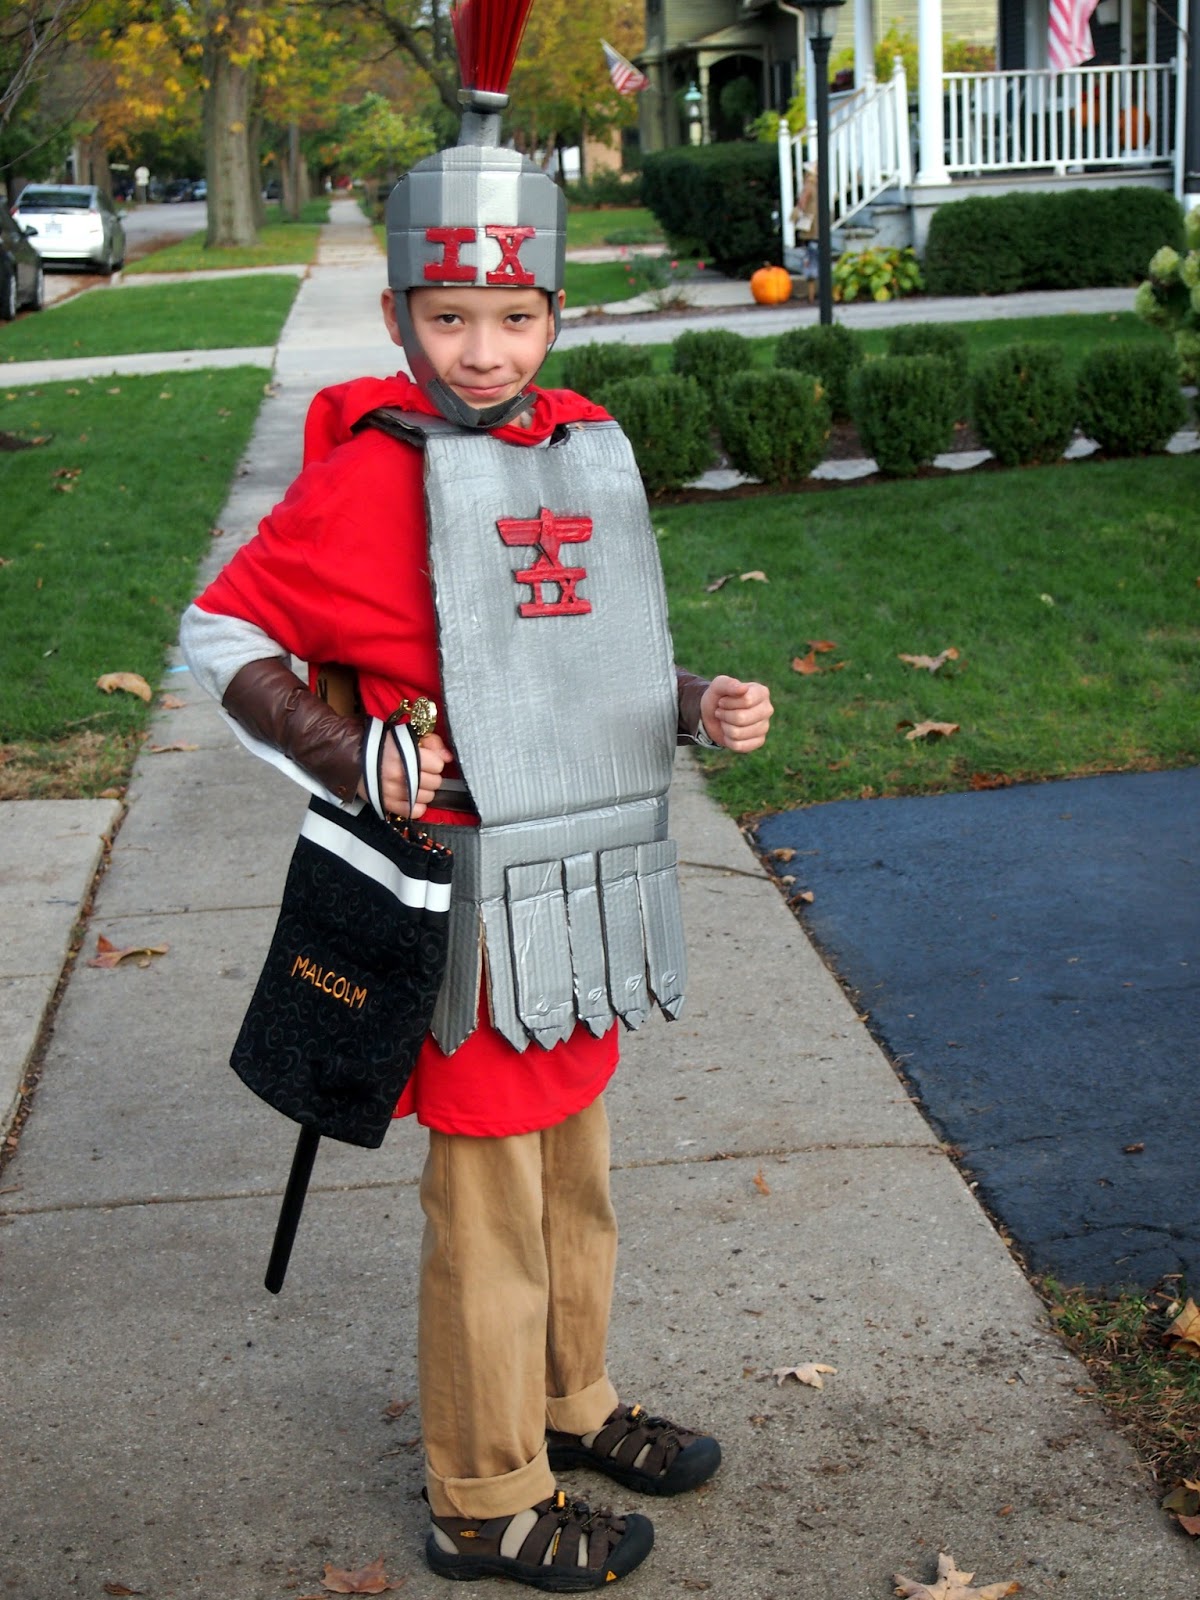
Malcolm wanted to be a Roman soldier, so he and Kevin made his breastplate armor and helmet.  Malcolm learned the joys of using the hot glue gun, and the pain of velcro not holding his costume together.  In the end, we used duct tape to hold it together and only had to repair it once while out trick-or-treating.


The only parts I "made" were the tunic, cape, belt, and arm gauntlets.  The cape and tunic were two mens' size t-shirts.  I took in the shirt on the sides so the tunic wouldn't be quite so huge.  The cape is just the back of a shirt, with a piece that had been cut off, sewn to each shoulder to create a neck hole.  The gauntlets are cut from flannel backed vinyl I found in the remnant bin of the fabric store.  I also cut strips from the vinyl for a belt, and leg straps.  He wore the leg straps to school, but we left them off when it was time to hit the streets, in favor of pants.  Poor kid was cold at school.


 After changing her mind over and over again, Dorothy finally settled on being Belle for Halloween.  I looked at tons of patterns and examples of costumes people had made, and decided to use a basic "fancy dress" pattern and just change the neckline slightly to make it look more like Belle.  I decided to just do the small pick-ups on the skirt instead of the full shearing to get the draping effect of the dress in the movie.  The pick-ups kept the skirt light enough to still be light and flow-y, which I thought was important.


 A friend loaned us a fake hair piece, and it really helped finish the look.  Dorothy's hair is just in a tight bun, then I stuck the hairpiece in front of the bun, pulled it around, and secured it with a rubber band and sparkly yellow ribbon.It held really well, and she looked so grown up with her hair done up this way.  It was fast and easy too.


Dorothy was adamant that she wanted gloves to wear with her costume, and she felt so fancy with them.  She wanted me to add sparkles to her costume, but I argued that Belle doesn't actually have a sparkly dress.  That, and I was out of time to do more to her costume.  I did have a rhinestone button, left from a different project, that was perfect to cover the center gather on her shoulder piece.


 The weather at Halloween can vary quite a lot, and we were afraid she would be cold in just the yellow Belle dress, so I suggested that I could make her the cloak that Belle wears in the snow, earlier in the movie.  The cloak turned out beautifully, and what little girl wouldn't want a red velvet cloak trimmed in white fur.  Side note, I will never sew with fur again!


It was fairly warm, but she wore the cloak for trick-or-treating.  I figure she can wear it again at our town's Dickens in Dundee Christmas festival, and if we walk in holiday parade.


Tuesday, September 13, 2016

Liberty Dress

This dress has been a long time coming.  I put it off as long as possible while Kevin and the kids were camping, but I finally buckled down, finished it, and I love this dress!  I want to make more of them, with slight variations.  Maybe for next summer. 

 The fabric on the bodice and the lower skirt is from Liberty of London.  I bought it, and 4 other fabrics, when Kevin and I visited London a couple of years ago.  It is easily the most money I have ever spent of fabric, and I was nervous to cut into it.  It has just been sitting, waiting for the "right" project.  I finally had to push myself to just use it already.  Even then, I procrastinated out of fear of wasting my precious purchase.

The center, coral panel was a fabric I had on hand, and it was a perfect match for the Liberty fabric.  It doesn't show in the photo, but the coral has tiny little swirls in a tone-on-tone scheme.  It's really delicate, and has some texture to it.  I went back and forth trying to decide if I wanted the center section different or not.  I think it would have looked fine either way, but I'm happy with how this one looks.


 I used Simplicity pattern 2377 as my guideline, but made a couple of minor changes to the original pattern.  I wanted a little more fullness in the tiered layers, so the coral is a little longer than originally called for, and the Liberty fabric at the bottom is about two-thirds longer than the pattern is set for.  Honestly, both could be even more full, but I cheated a bit and just used the full width of the fabric.  A single width for the coral and double that for the Liberty.

I don't know how much longer she will enjoy having me make dresses for her, so I might as well do a few more while I still can.


It's hard to see in the other photos, but the Liberty fabric is sort of a funky damask style.  It looks very traditional from a distance, but there are octopi all over it, and little hidden anchors.  I centered one octopus on the front bodice, and there are two rows of them on the lower skirt.  I like that this dress looks pretty traditional, but has a little surprise in the details.

Now, what will I make with the rest of my fancy Liberty of London fabric?

Monday, September 12, 2016

Camping Weekend

Kevin took the kids camping this weekend.  Since I don't camp, I had the house all to myself, and I took the opportunity to finally tackle a few things in my sewing room. It's amazing how much I can get done when there are zero interruptions.


First up was finally finishing the tooth fairy pillow I started for Dorothy a long time ago.  It was all cut out and the embroidery and applique were done.  I just had to sew it together, stuff it, and sew up the hole.  Quick, but it would have been quicker if I had remembered to add the ribbons before sewing it up the first time.


A closer look at the embroidery.
It's a good things I finished this, because she lost another tooth the day they came home.  It works!  The tooth fairy found her tooth in the pillow just fine.


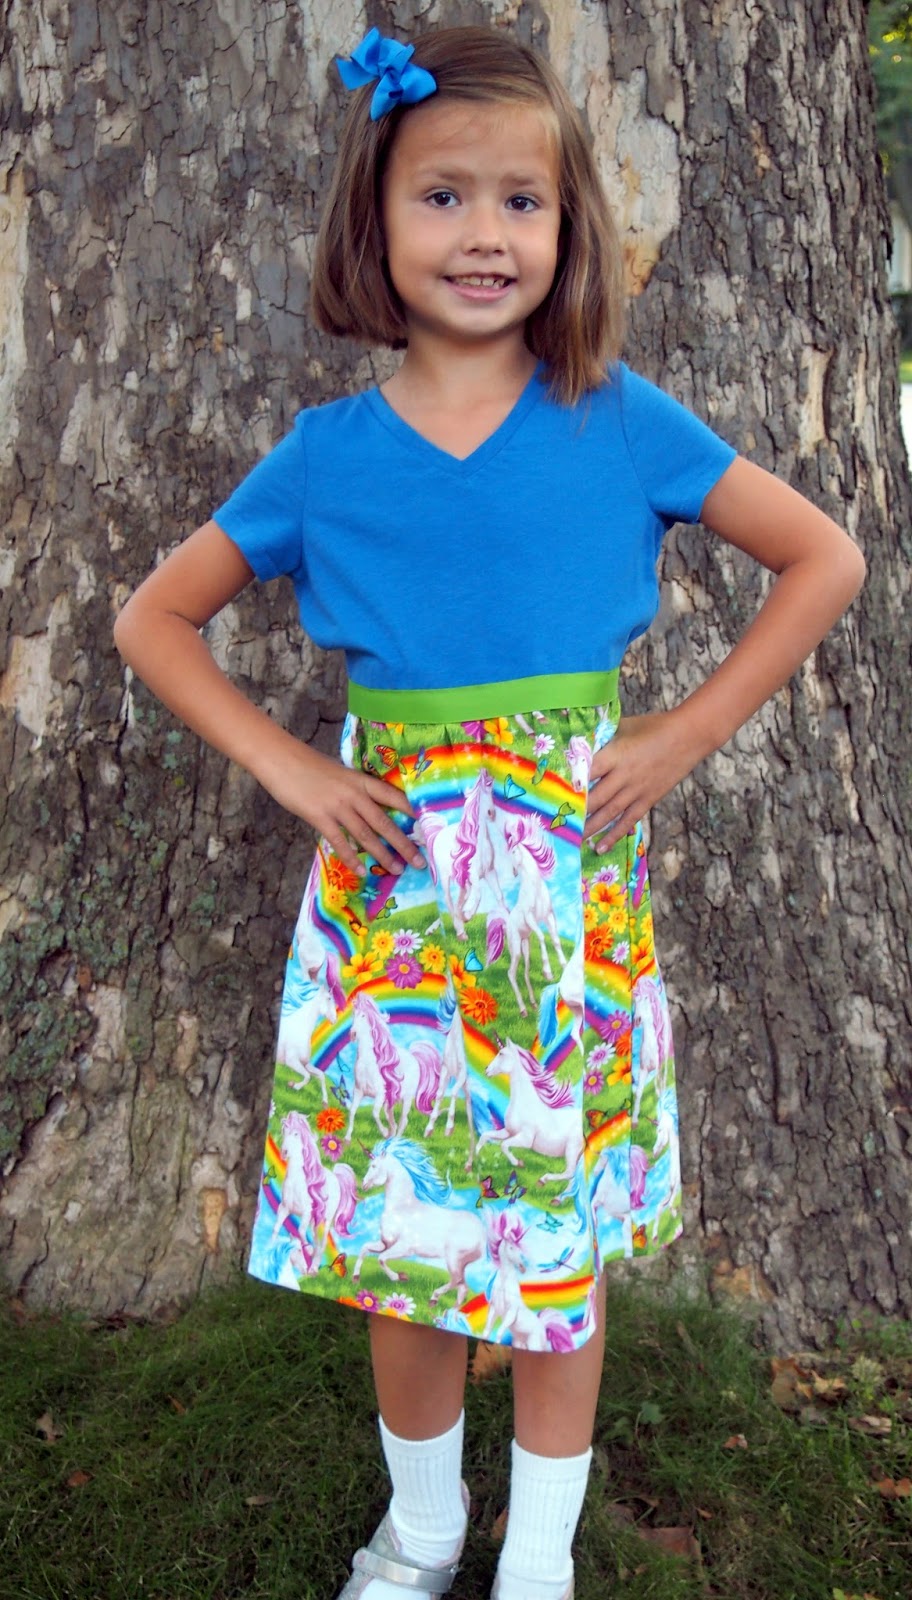
 Next up was a new t-shirt dress for Dorothy.  I love this style of dress on her and they are so quick to make.  I lucked out and found the blue shirt on clearance at Target.  It matches wonderfully with the fabric.  Too bad she didn't have this on Friday when she was to wear a blue shirt to school for a special event.  Why do I never have the "right" colors when stuff like that comes up?


 When she came home and saw the dress, she was really excited.  The skirt fabric is rainbows and unicorns, and it truly hideous in a way that only a six year old could love.  I bought a mystery box of remnants a while back, and this was one of the treasures in the box.  Never in a million years would I have chosen this fabric, but Dorothy loved it the minute she saw it.  The remnant was the perfect size to make this style dress, and I don't have any left over.  The dress is a touch long, but that is so she can still wear it next Spring.  The weather is starting to get cooler, so I'm not sure how much wear it will get right now.


 Here's a closer view of the "beautiful" fabric.  I'm glad she's happy and that I found a good use for this piece.


Lastly, I finished the last few of my 120 rainbow string squares for a quilt I'm making.  I still need to set the layout and piece together the top, then quilt it, but at least the squares are finally done!  It took a lot longer than I had anticipated to sew these strings together.  I hope it turns out as pretty as it is in my head.

I also worked on another dress for Dorothy that I had been putting off because the fabric intimidated me.  All I have left to do is hem it and trim the threads, so I'm hoping to finish it so she can wear it tomorrow.  That dress is more my style than the rainbow unicorn one, but she likes them both.

Kevin should take the kids camping more often so I get more done.

Saturday, July 9, 2016

Unicorn Rainbow Baton Twirling Costume

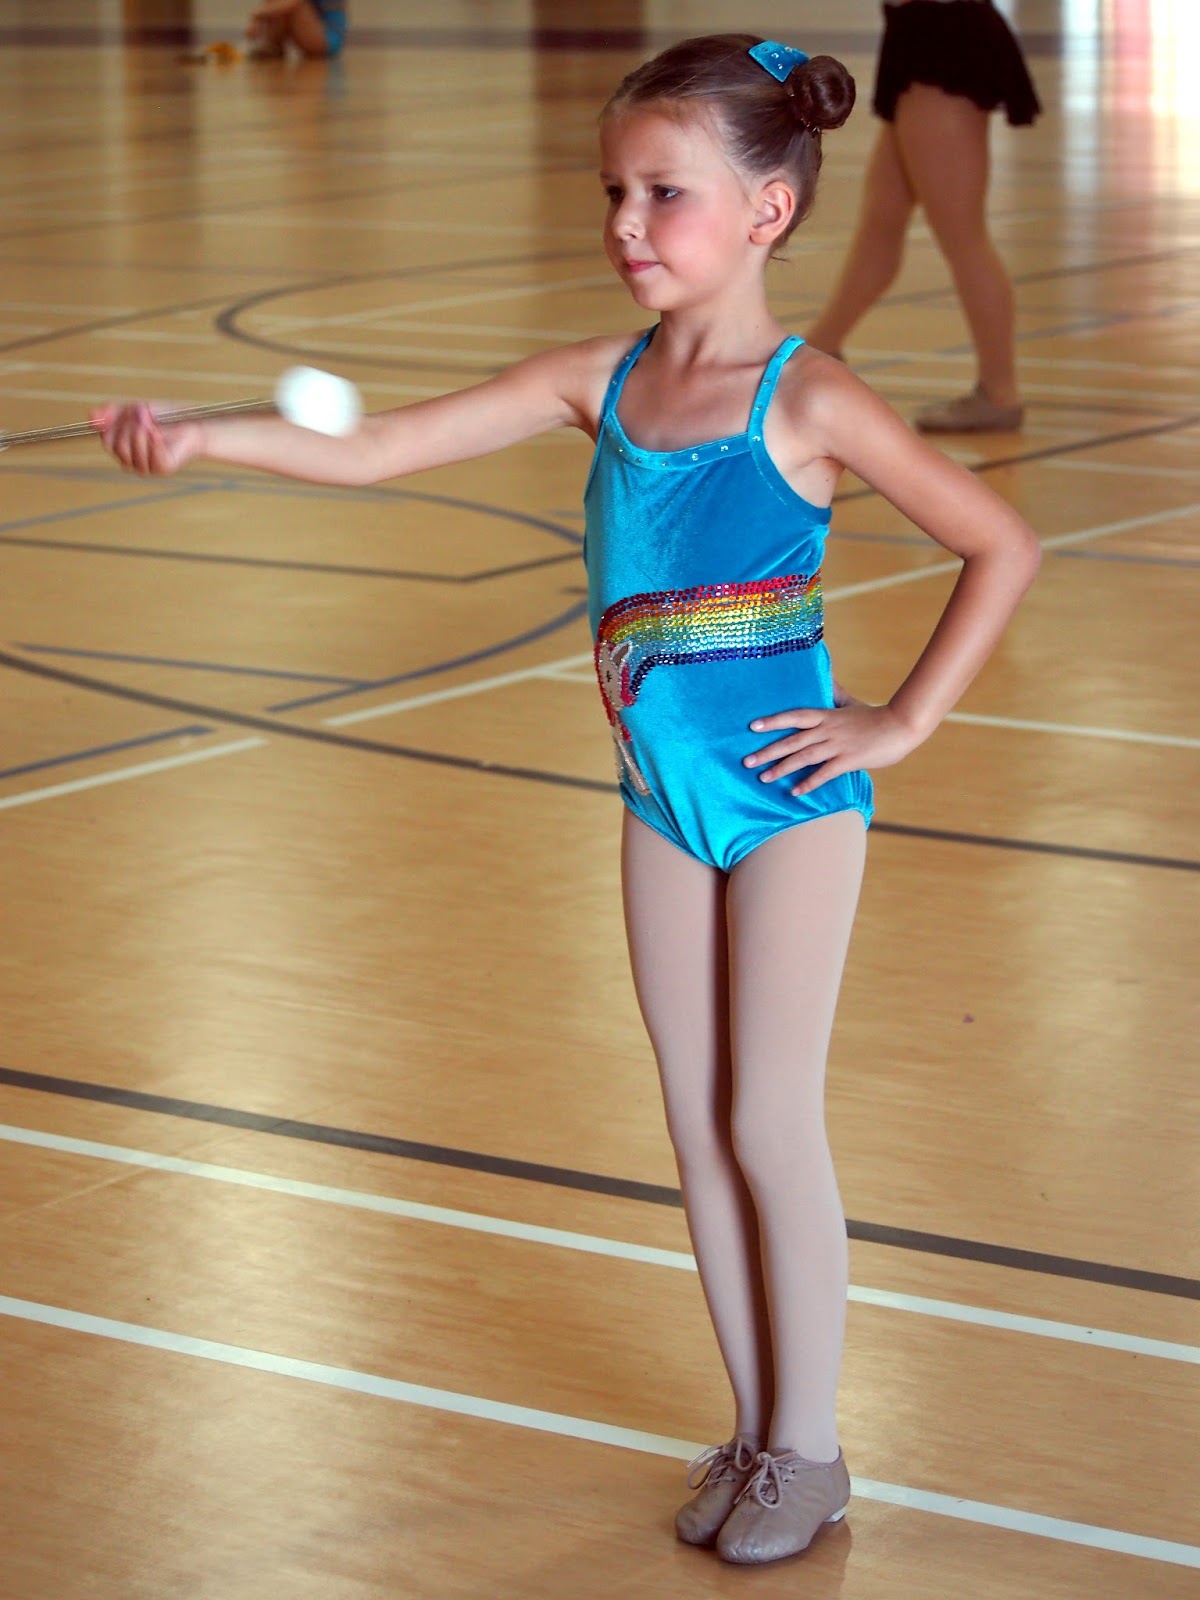
Dorothy needed a new solo costume for twirling competitions because despite letting out the one she had, her bottom would not stay covered.  Since she is in the youngest age bracket, I figure that it is fine to play up the cuteness factor as much as possible.  I had some teal stretch velvet fabric left over from a previous project and knew that it would be a fantastic color on her.  Two of her favorite things are unicorns and rainbows, so why not?  I already had a unicorn design for my embroidery machine, so I just used that.

I cut out the base leotard, sewed up just one side, then embroidered on the unicorn before closing the other side seam.  That made it much easier to get the unicorn on the costume without stretching the material out of whack.  I hand sewed some beaded detailing and did that before I lined and finished the costume.  That way, the lining is smooth and the stitches are hidden behind the lining.

Despite cutting out the pattern with the length of a size six and the width of a size five, the leotard was still a bit too big around on her and I had to take it in a bit under the arms


I think the back turned out very cute.  You can barely see it, but I did some light blue rhinestone on the straps across the back.  There are also a few rhinestones across the binding on the front.  The are subtle, but added just the right amount of sparkle up closer to her face.


 Doing a "fade" for the end of the rainbow was more difficult than I anticipated.  I think it looks better from a distance.


 Close up of the unicorn.  The details of the legs, mane, and around the horn are all seed beads that I sewed on.  I'm thinking about adding a black rhinestone for the eye.  Outlining the unicorn in rhinestones seemed like a lot up close, but they just barely show up from a distance on the gym floor.


 Here are a few actions shots:
 During her solo where she placed first for Nov 0-6 State solo champion.


 At attention, waiting to start her basic strut.


During basic strut, which we need to put a little more time into.


The lighting was better in the practice gym, and I got a few cute pictures of her practicing and playing around a little.


 I had just enough of a scrap of fabric from the leotard to make two little bows for her hair.  I thought they looked sweet on her and really finished off the look.


 Sometimes, she stands up tall, and looks really confident and sharp.


This move always kills me.  She just looks too adorable when she does it, and really throws herself into the lung each time.

Dorothy had lots of positive comments from other twirlers and moms at the State competition.  I'm glad I finished it just in time.  She will Wear it at Nationals, and hopefully it will still fit for all of next season.  It's pretty stretchy, and there is a little room where I can let it out, so that should help.

It took forever to glue all those rhinestones on, but I'm so happy with how this costume turned out.