
And here are some of the little ones who made it:


Each child had a turn using my embroidery machine to make a cupcake. I had the fabric cupcake pieces pre-cut for them, and they picked out a top and bottom, then thread colors for the top and bottom. They all also glued tiny squares of fabric to interfacing that I then brought home, ironed, and sewed into the patchwork sashing strips.
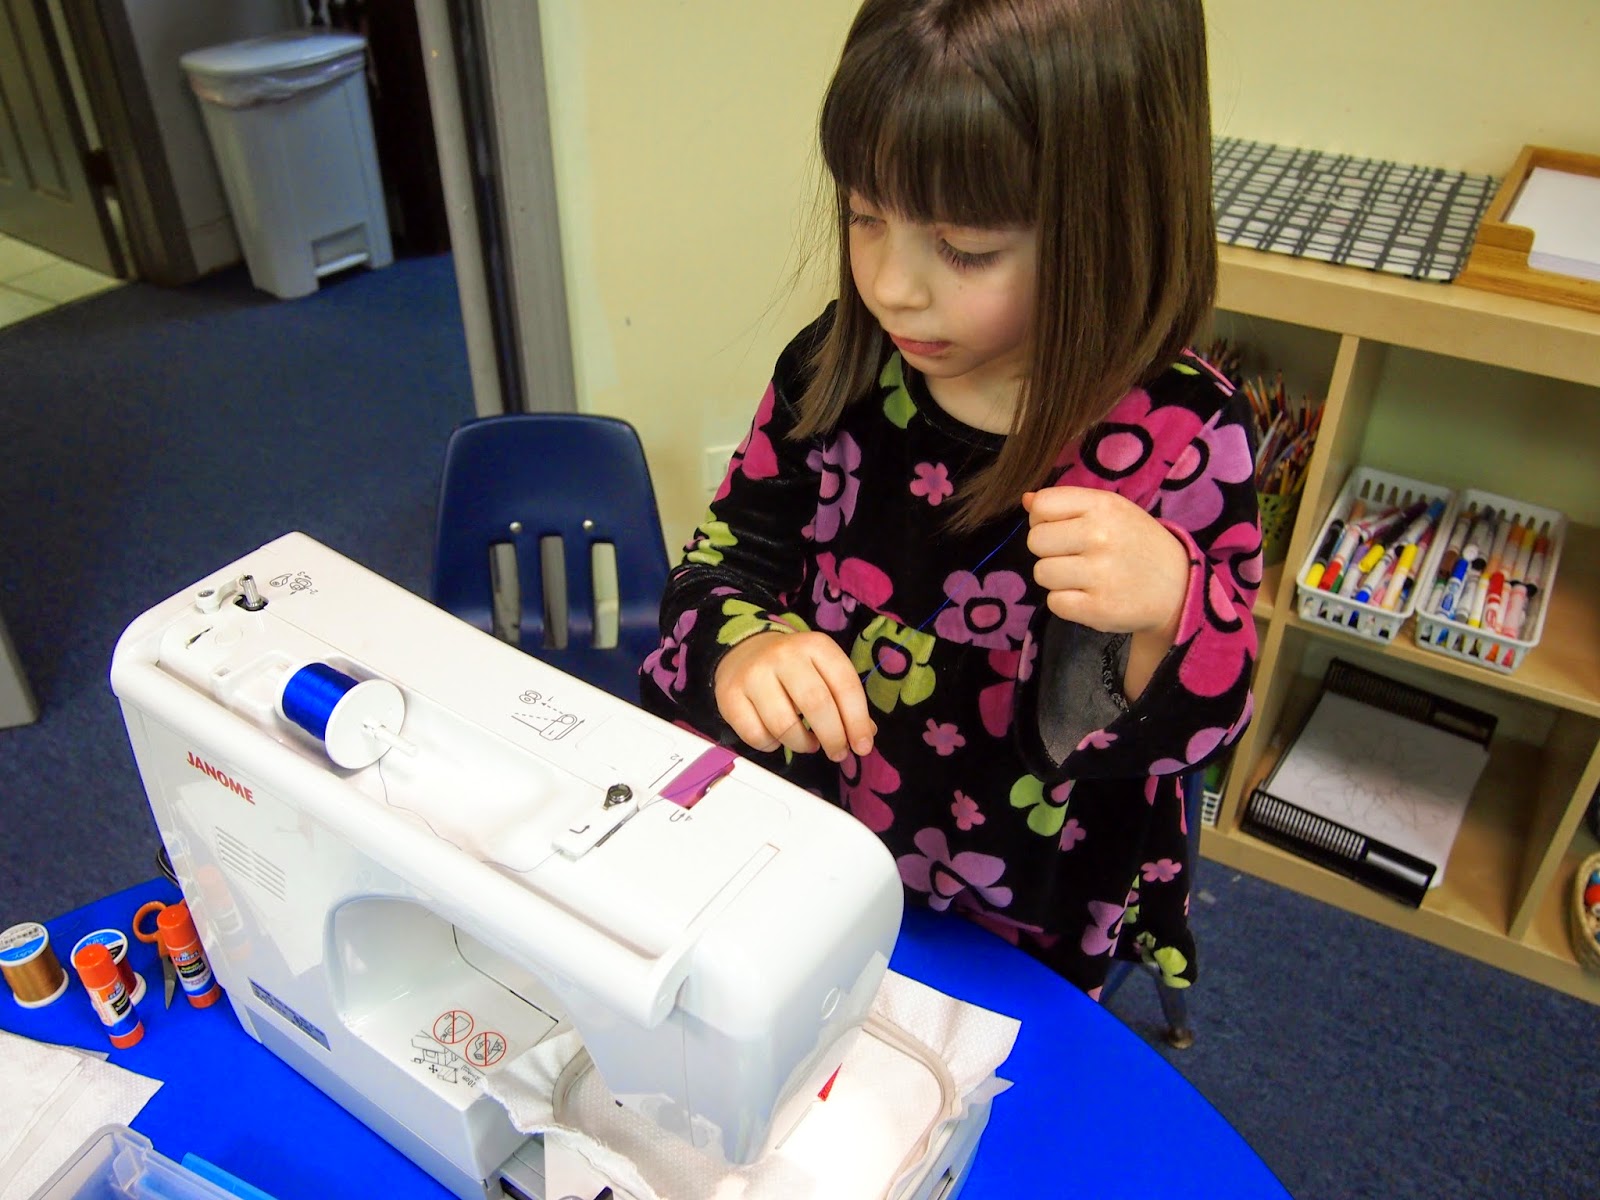
Here are the kids at work (Check out their eyes in the pictures. You can see how focused they were.):
1. Changing the thread color.


2. Threading the machine. Only the very youngest three year olds didn't thread the machine. Some children needed a little help, but a few did it unassisted.


3. Lowering the pressure foot (which is way in the back and hard to reach with little arms).


4. Pushing the start button.


5. Putting glue on their cupcake pieces and placing them in the outline on the fabric.


6. Watching. Sometimes, it gets very crowded around the table where we are working. Other times, everyone is busy with their own work and the person sewing can really focus.


7. Glueing fabric squares onto interfacing.


Lastly, here are some closer shots of the finished cupcakes in the quilt.


There are more than 50 different fabrics used in the quilt. Many of the squares match fabrics used in the cupcakes, and the kids had fun spotting which ones matched. All of the colored fabrics were from my scrap bins and it was great to make a little bit of a dent in my scrap pile (even if it is still pretty big).
I have a couple of other personal quilts to finish up, and then I'll donate all of them to Project Linus. Hopefully, whomever gets this quilt will love it was much as the kids loved making it.