My daughter is starting to get into competitive baton twirling a little bit. She is on a team, and I figure that while we are at the competitions anyway, she can at least do basic strut as an individual. When I was teaching twirling (pre-kids) I picked up a small number of costumes for hardly any money. It was nice to have something for my students to borrow if they wanted to try competing without having to invest a lot upfront. I have had this little black costume for probably 10 years, and no one has ever worn it because it is so tiny. I'm not sure how old it is, but it wasn't new when I bought it, and I'd guess it is at least 20 years old. However, it is made with quality fabric, and the base costume is holding up really well.

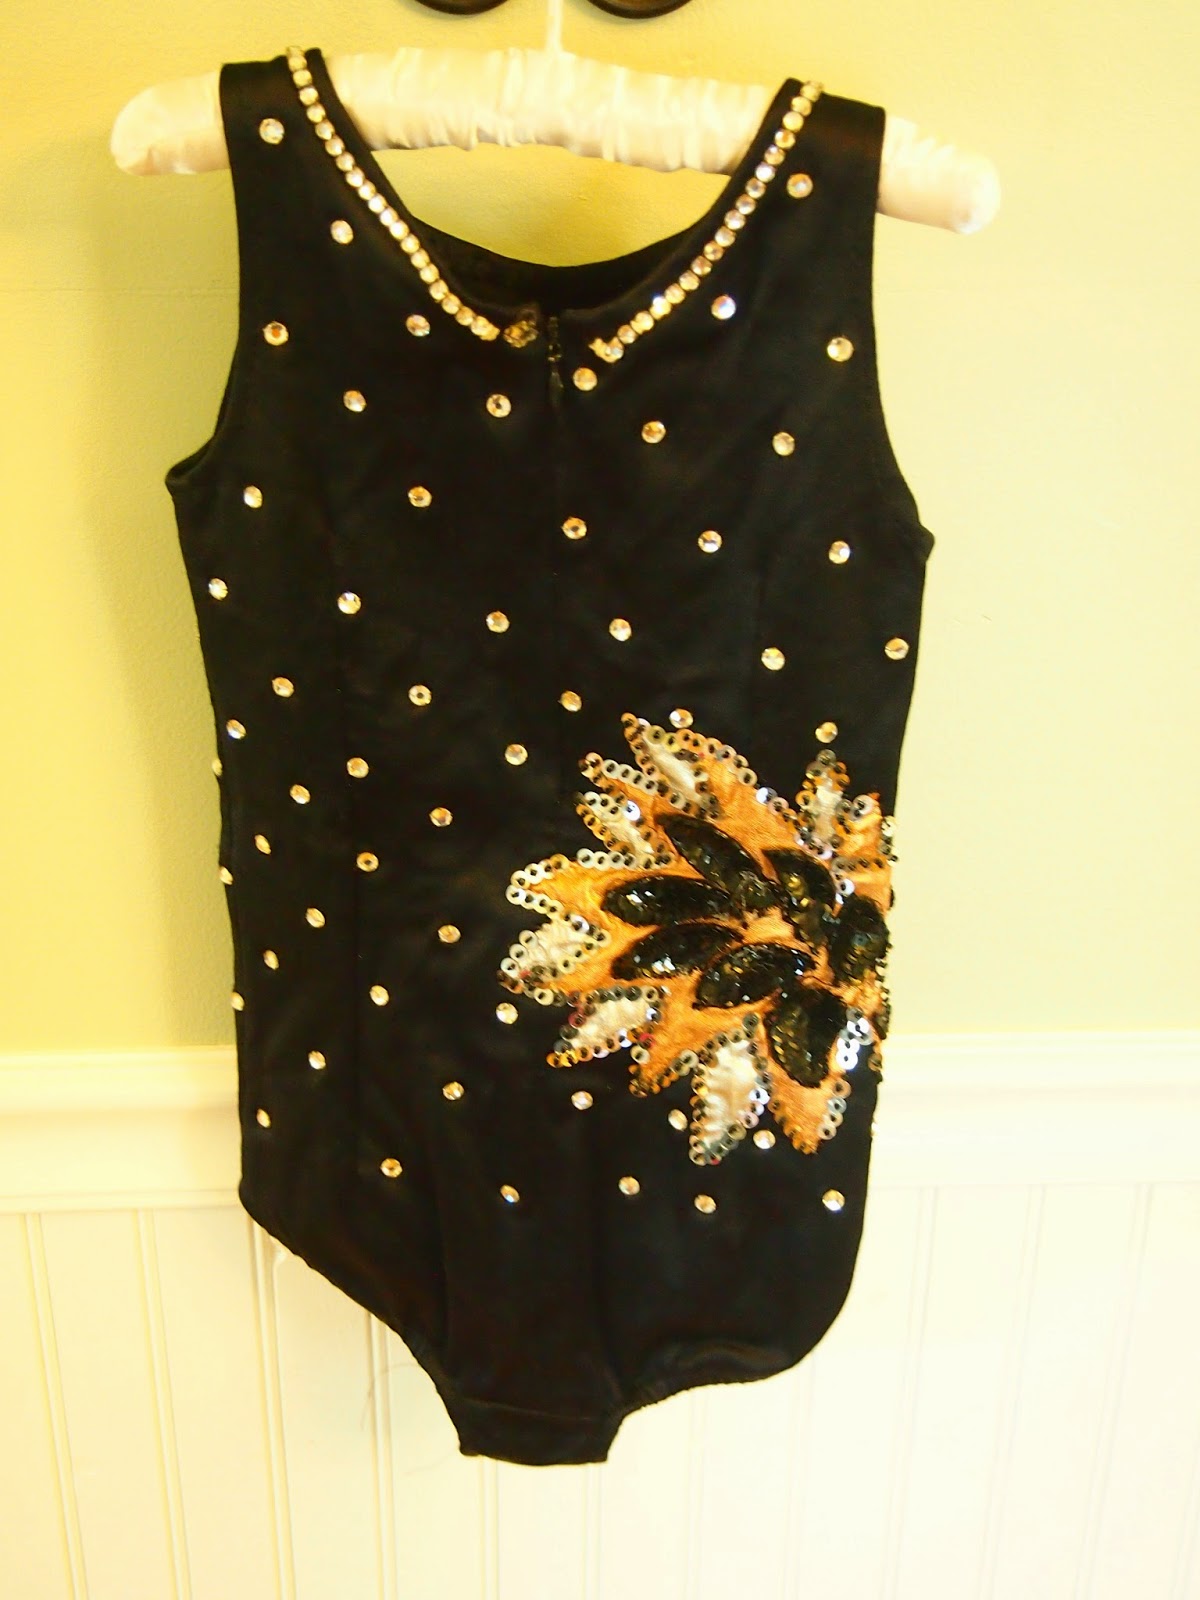
The front. It was a cute design, but a bit more mature than I like for little ones. It wouldn't be a color or style I would personally pick if I was to create something from scratch, but I was able to buy it for $10, which can't be beat. The edges of the leaf designs were outlined in silver sequins with black beads to hold them in place. I didn't care for how dark it made it look, and many were coming loose and needed to be mended anyway.
The design carried over to the back.
The black sequin applique on the bronze colored leaf was completely falling apart. It was one piece, that
had been cut apart to make it fit better, but it was not holding up well.
I removed the black applique pieces and the silver sequins with black beads. Then I took off the bronze leafs (one had a rip in it). The silver material was still in good shape, so I left that. I used the bronze pieces I removed as patterns and cut out some hot pink ones to replace them.
I think it looks much better and has cleaner brighter lines now. After I sewed on the new, pink leaves, I outlined everything with a single strand of silver sequins. I was going to add some other pink sparkles, but decided that it didn't need it (and the pinks didn't match perfectly).
The trim at the neck is a row of rhinestones and there was one missing. I happened to find a loose stone under a table during one of her lessons, and it fit and looks great. I had some other little rhinestones, but the ones I had were slightly better quality and sparkled more than the others, so it stood out. Now, you can't even tell which one I replaced unless you know where to look.
The back! The rhinestones scattered on the black are put on with prongs. Some of them were loose, so I went through and tightened all of them up. Other than time, the transformation didn't cost me anything! I had all the extra fabric and trim that I needed, and she no has an adorable costume to wear for her first competitions. It fits her really well, and looks like it was made for her. It was a little bit long, but I took it up about an inch in the crotch. Someone else had added a small panel, and I just took it back in. When she grows, I'll let it out again, and she can wear it a little longer.
I'm really happy with how cute this one turned out.